 |
 |
Set construction |
Special Effects |
Post Production |
|
|
 |
Sometimes when I need a very large angle of view, such as for this traveling, the blue cloth is not enough wide. So I'm oblige to edit each picture taken with a picture editor software (Photoshop), and paint the edges in blue, before creating the AVI with Premiere. I know, this is not very convenient, but I wanted to film the same destroyer's model instead of building another little destroyer and film it closer. | 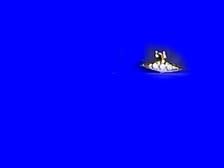 |
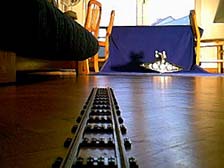
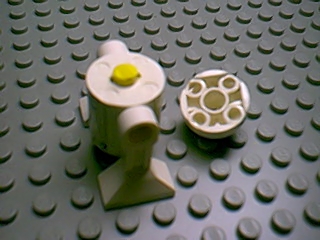
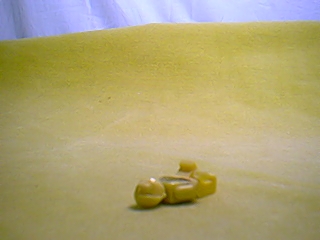
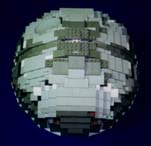 For all the wide shots with the Death Star, I made a little hemisperic model (32 cm for the diameter) that I filmed from the top. But the Death Star turn on itself in most of the shots.
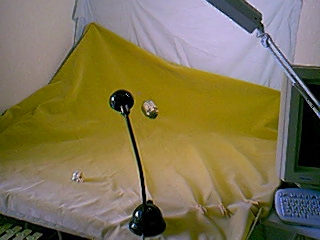
 To reproduce this rotation I first tried a travelling of the webcam, that's why the webcam is on a bridge above the model, but the travelling didn't give good results. So I decided to let the webcam fix, and turn the model with the help of the velvet cloth (blue screen). By drawing up a side of the velvet then let it down slowly, then drawing up the other side of the velvet cloth, you can obtain a little rotation of the model without touching it.
|
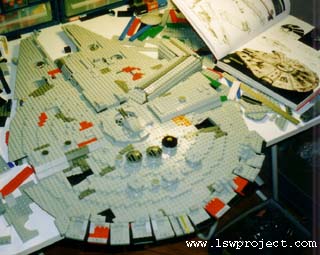
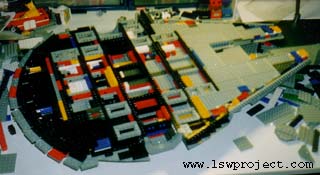
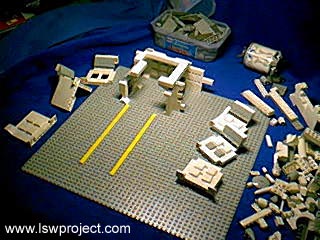
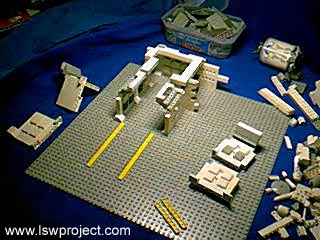
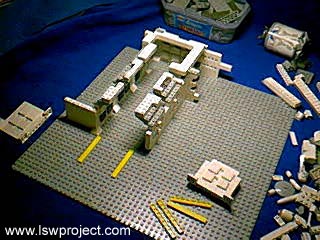
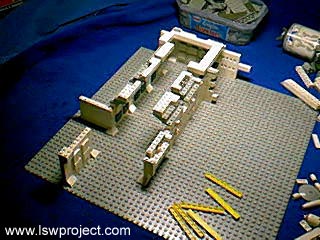
For the LSW project, I need to have a Millenium Falcon at the right scale comparing to the character's scale. But the 2 official sets released by the Lego Company, are both too small. So I decided to build my own Millenium Falcon. For now, I worked on it more than 100 hours, and it's not finished yet. Here are some picture of the Millenium falcon at different stage of building. The inside of the ship is not detailed, I will build specific sets to film the shots inside because it would be easier to film.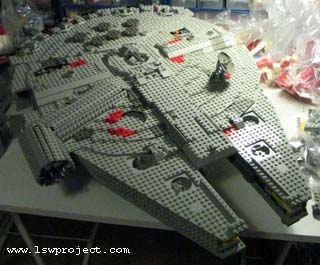 |
|
 |
 |
 |
 |
 When I took this shot I was using my numeric camera. And this camera was too big to fit inside the corridor. So I had to build the decor as I took pictures. For that, I had to design the decor in several parts easily removable. Finally I'm very proud of this shot, cause it's a long backward traveling in a U-shape corridor (as you can see in the nearby GIF-Anim). When I took this shot I was using my numeric camera. And this camera was too big to fit inside the corridor. So I had to build the decor as I took pictures. For that, I had to design the decor in several parts easily removable. Finally I'm very proud of this shot, cause it's a long backward traveling in a U-shape corridor (as you can see in the nearby GIF-Anim). |
|
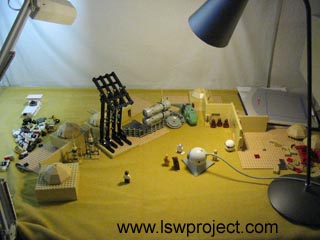 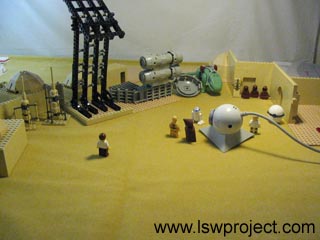 |
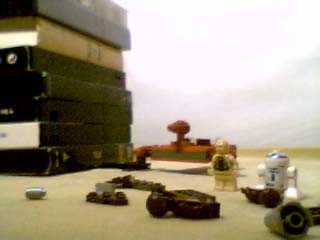
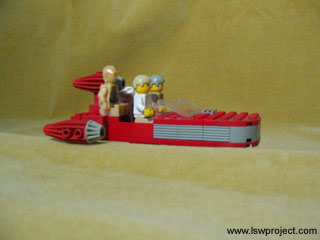
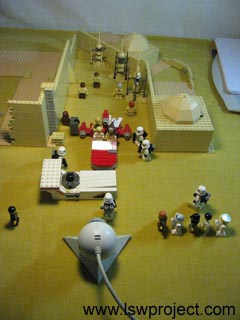 In the picture above you can see that the white landspeeder is not complete. I built only the back part of the landspeeder, cause we don't see the whole landspeeder in the shot. You can also notice all the extra people, waiting in single file (on the right) for passing in front of the camera. The preparation of such a shot is very important. Ordering all the extra outside the frame of the camera, avoid me to forget someone during the take. It can take me half an hour to prepare such a shot (this picture was taken just before starting to take the shot). |
 . Look under his left foot, you will see the brick. But because the brick is the same color of the floor and because the fly is fast, most of people don't see it when they watch the film at normal speed. I didn't erased the brick during post production by painting on the pictures, but I ought to was able to do it.
 Before the fly, the officer is hold by Darth Vader with a lego rubber band. |
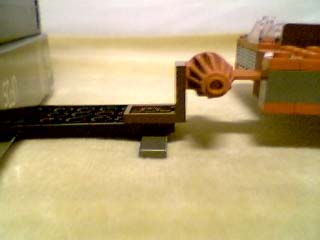
 During the fly, his left foot lie on a little lego brick. |
| Just like Georges Lucas, I use the same technic to make flying the Luke's landspeeder. If you have already seen a making of starwars, perhaps did you notice that the landspeeder was fixed at the end of a crane on its left. That's why in many shots of Starwars you don't see the left of the landspeeder. Just look at the pictures below to understand. The picture on the right comes from the film, the two others show how the landspeeder is fixed. |  |
 |
 |
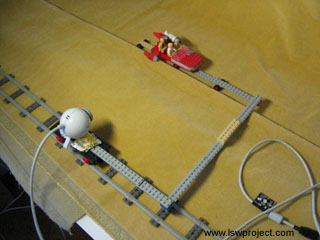 |
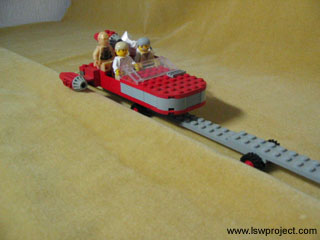
For a full-motion video scene, I fixed the landspeeder and the webcam together, and put them on a wagon. You can see that I add some wheels under the landspeeder. So when we move the webcam, the landspeeder move at the same speed and stay at the same place in the frame of the camera. But when we watch the movie, we see the decor moving fast. The wheels were hidden behind a fold of the decor. Below you can see the resulting shot. |
 |
 |
 |
 |

| That was a funny thing to do! In fact like in some real films, the Lego Door was precut. It was built with stacked tiles. Then I used a bic pen as a blowpipe, and blow behind the door. It was difficult to find the good power of blow. At the begining I blowed too strong and the tiles stayed jamed. You can see here some failed shot. |
 Well the production line has evolved during the realisation of the film. At the begining all the film was made frame by frame with a photographic camera, none video camera was used. I used the Agfa ePhoto 780c camera. Here were the steps to produce the film:
| Advantages | Disadvantages |
|
|